In this technical workshop, we looked at how to use ISO and shutter speeds. This was an online seminar in which we were given several tasks to complete using our cameras. It was an opportunity to have a play around with these techniques and see what settings worked best in which environments etc.
The first task was to play around with shutter speeds, taking images of a subject jumping in the air, trying to get a shot with no movement, using a high shutter speed. Even after adjusting the ISO (1600) and F stop (4,5), the lighting in the images was still very dark. I went for a lower setting on the shutter speed, taking it down from around 1/1000 to 1/500 and still managed to capture a few shots with little movement in them.

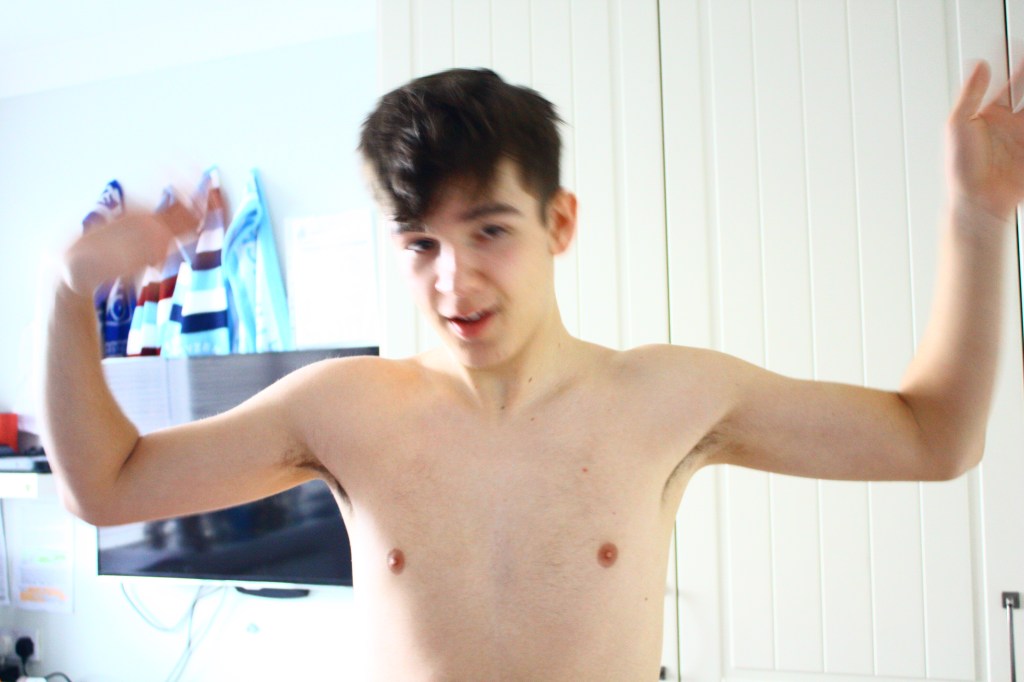
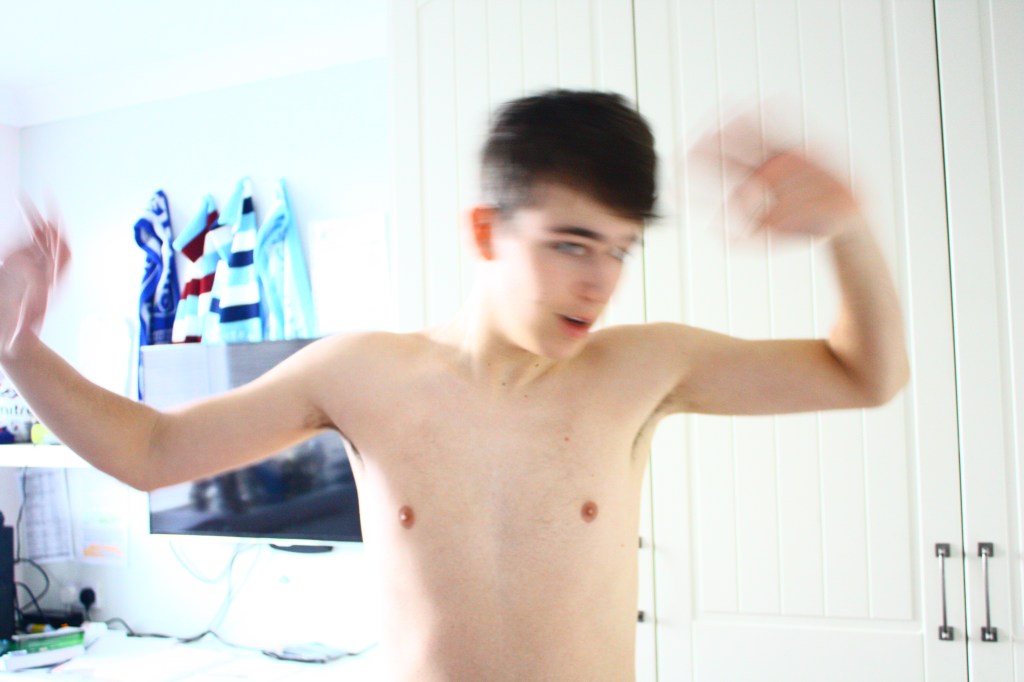
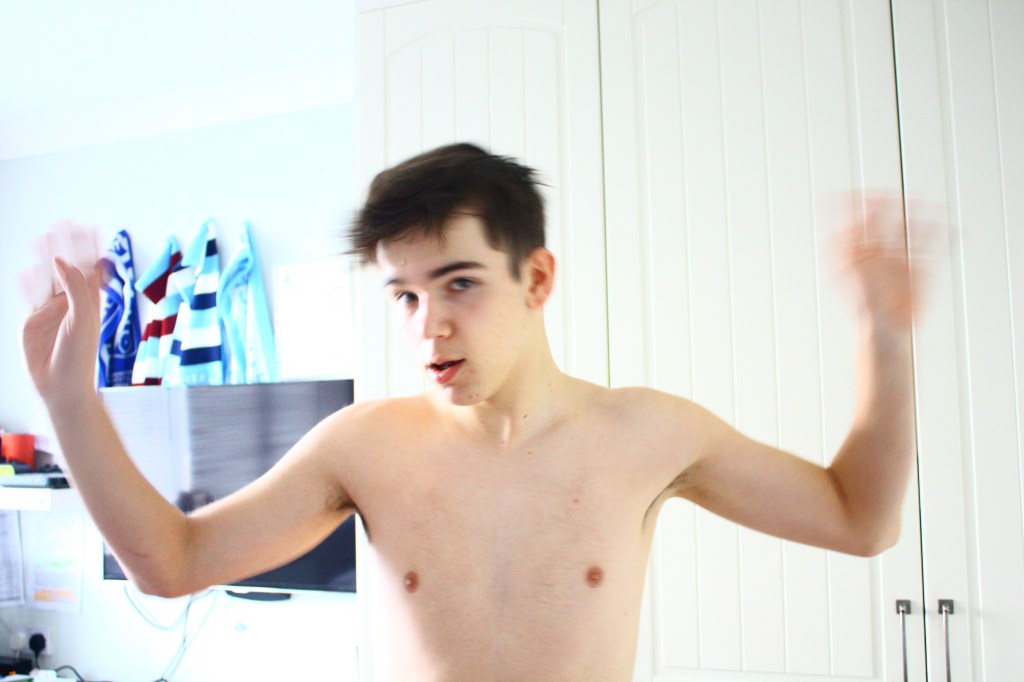
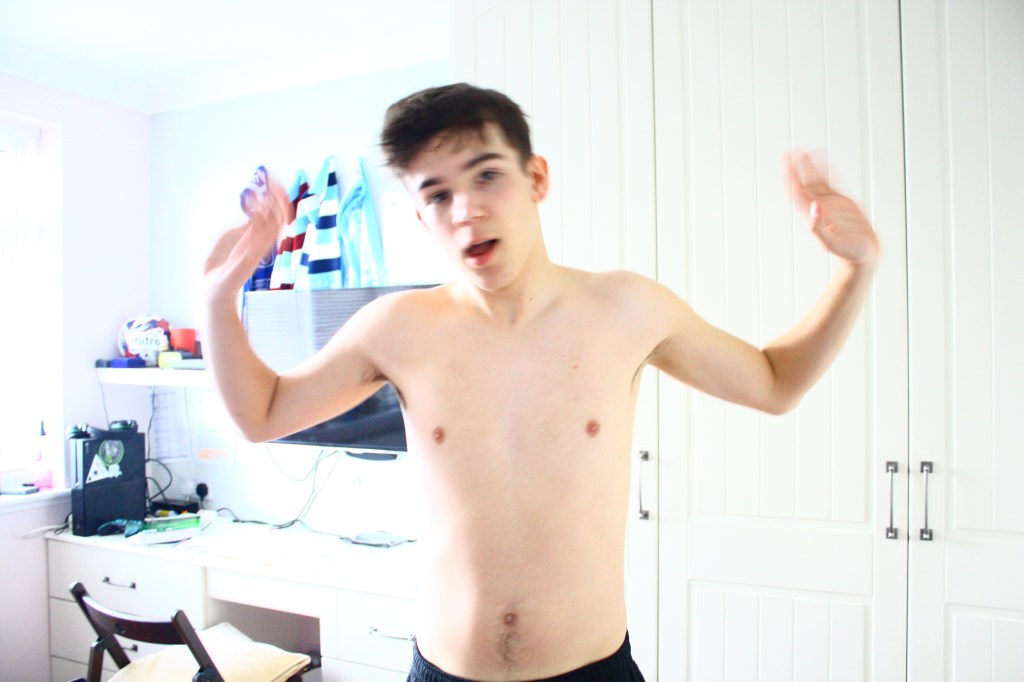
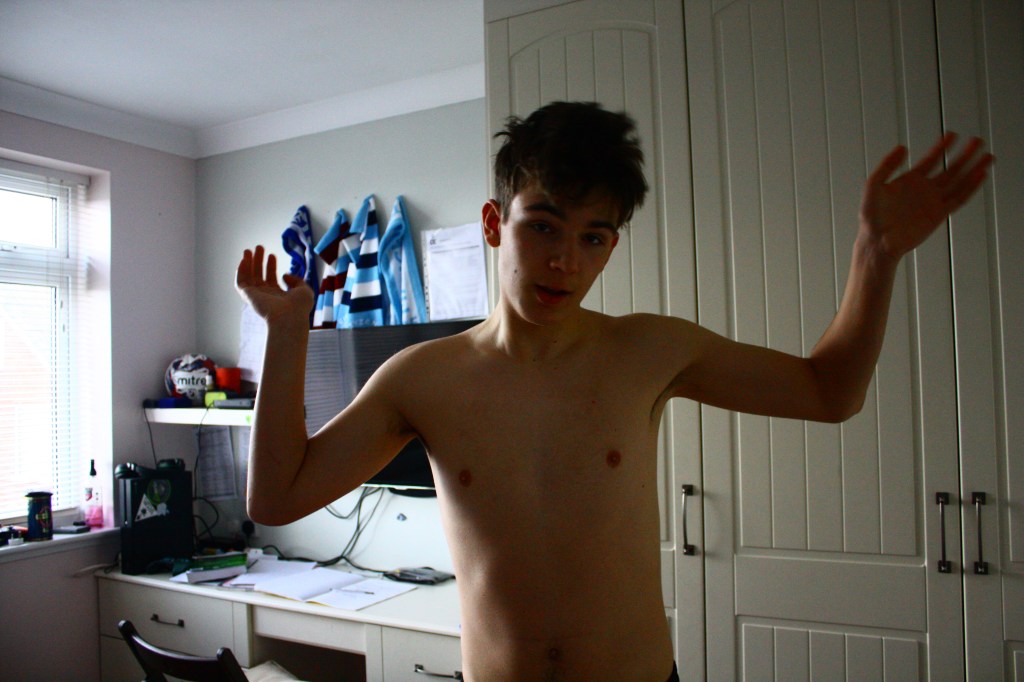
In this task, I took photos with a slow shutter speed to capture a more interesting effect. This was around 1/400, with a high ISO about 1000 and an f stop of 4.5. This lets a lot of light into the images and created a blurry effect around the hand and head which were the parts of the body being moved around.
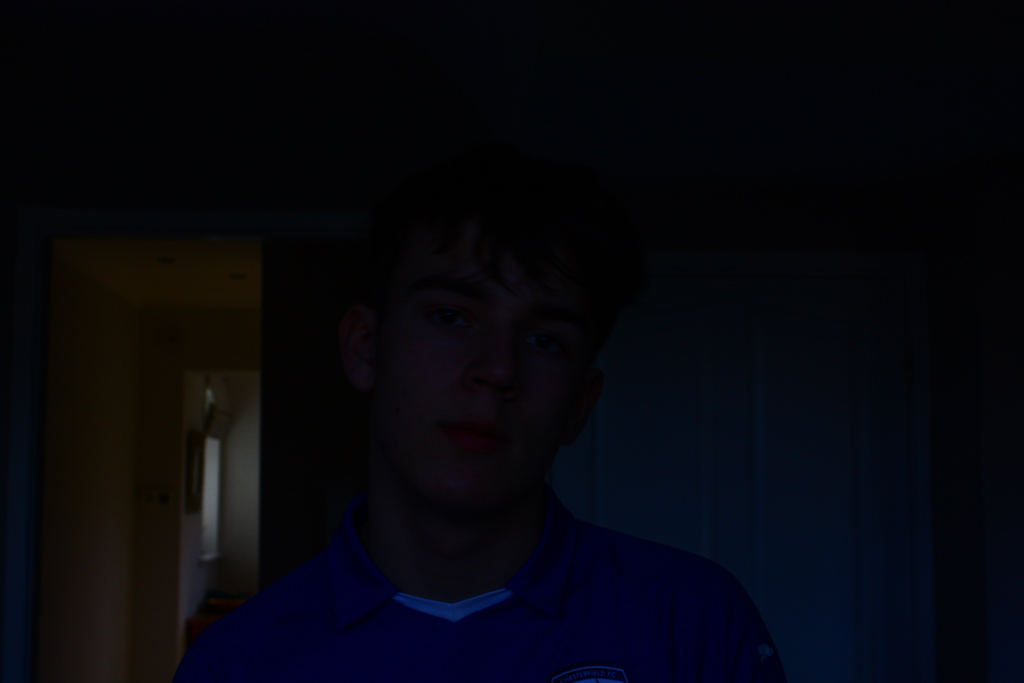
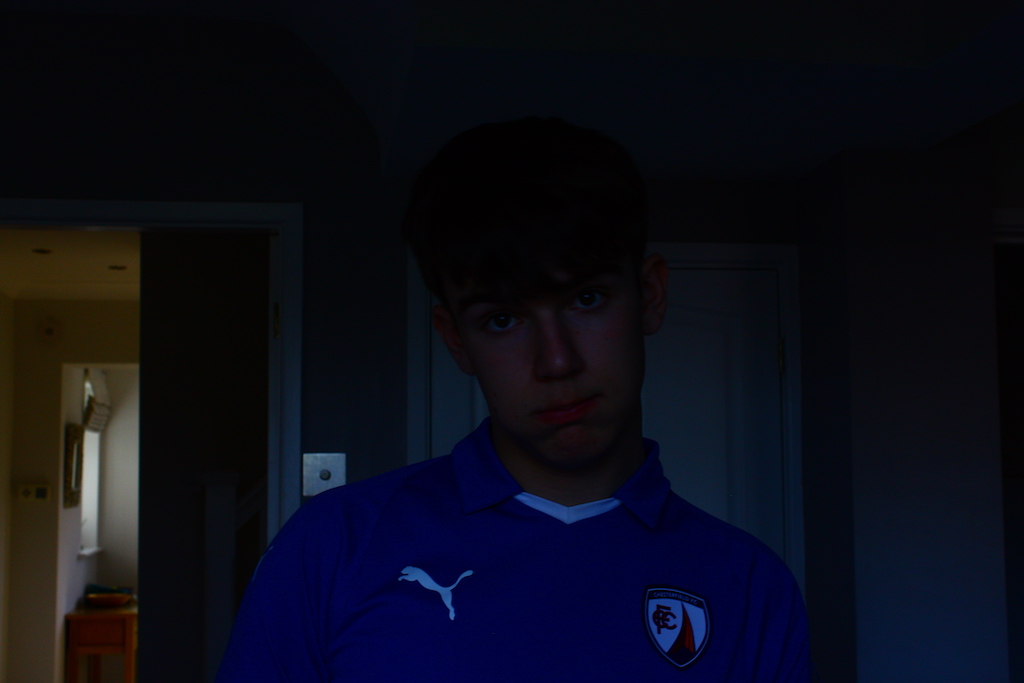
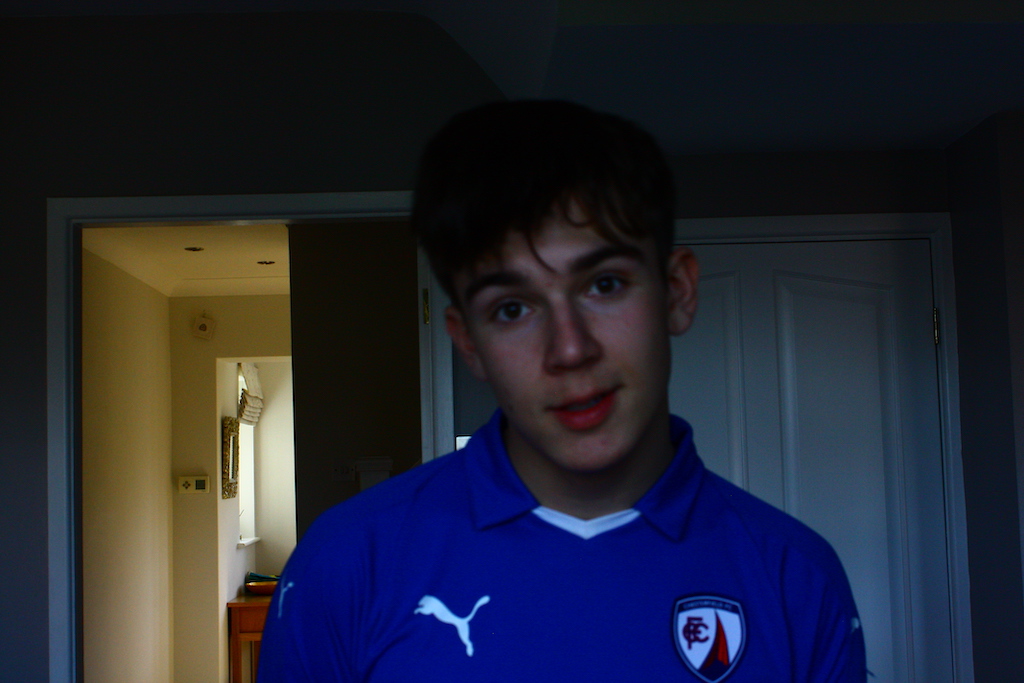

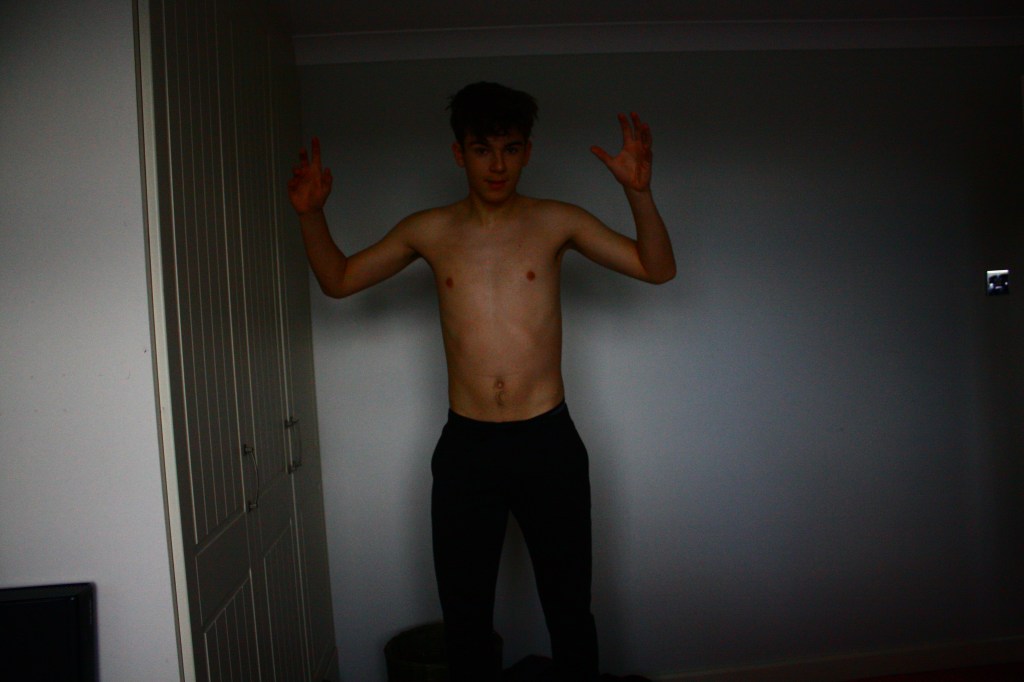
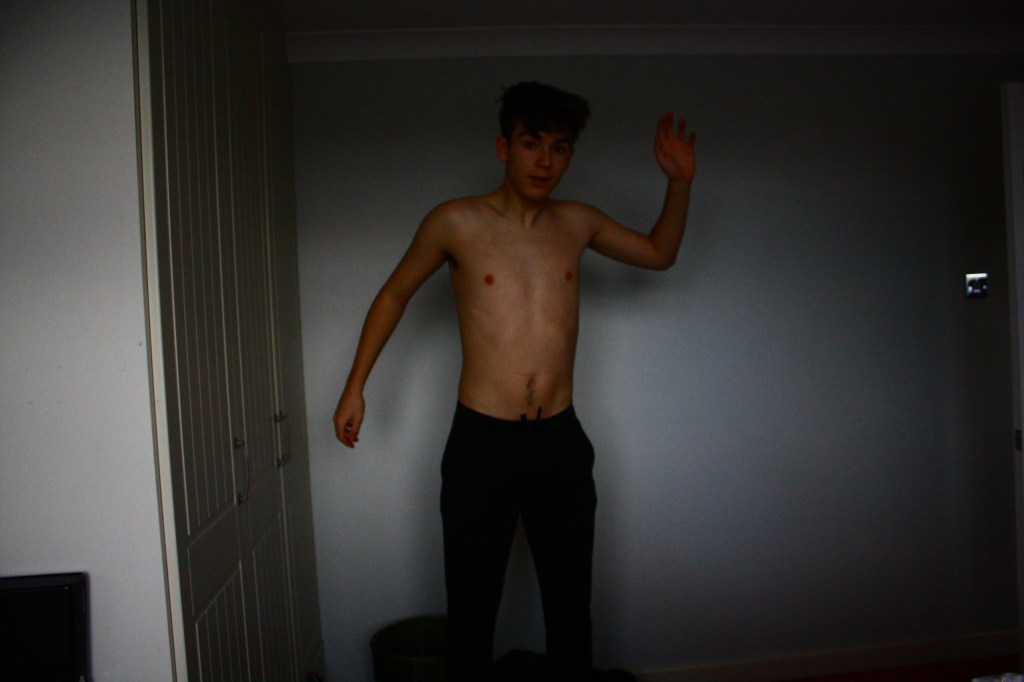
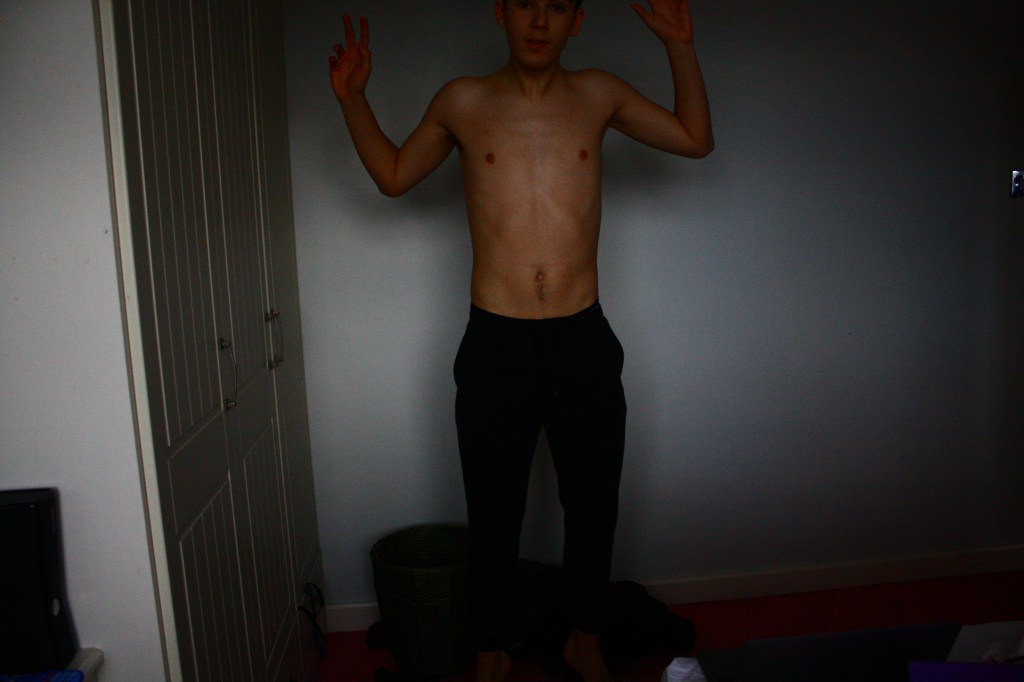
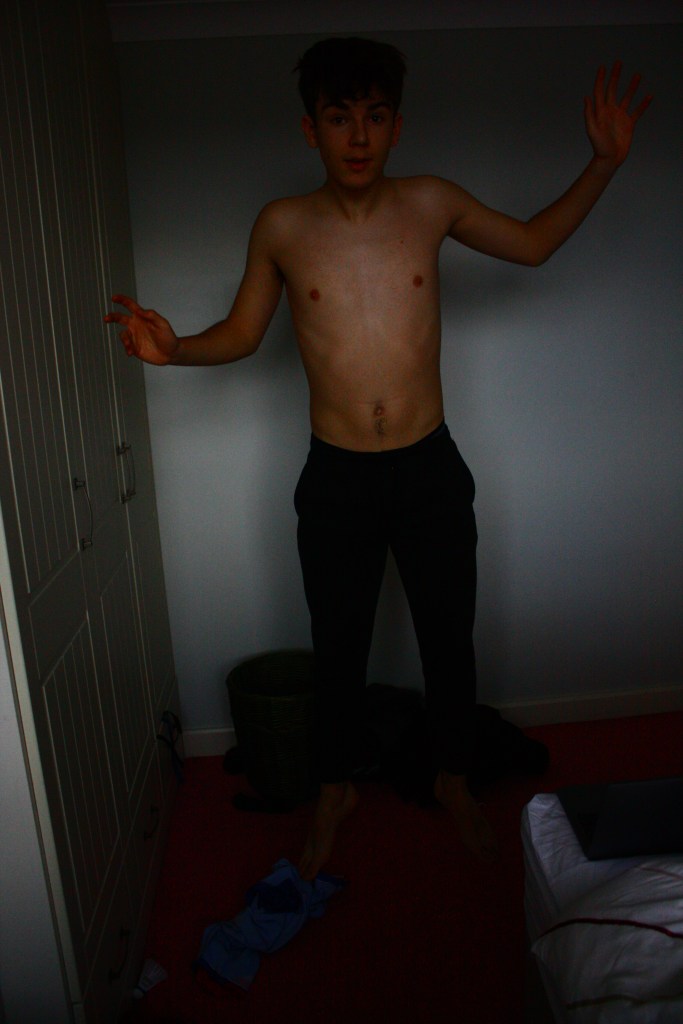
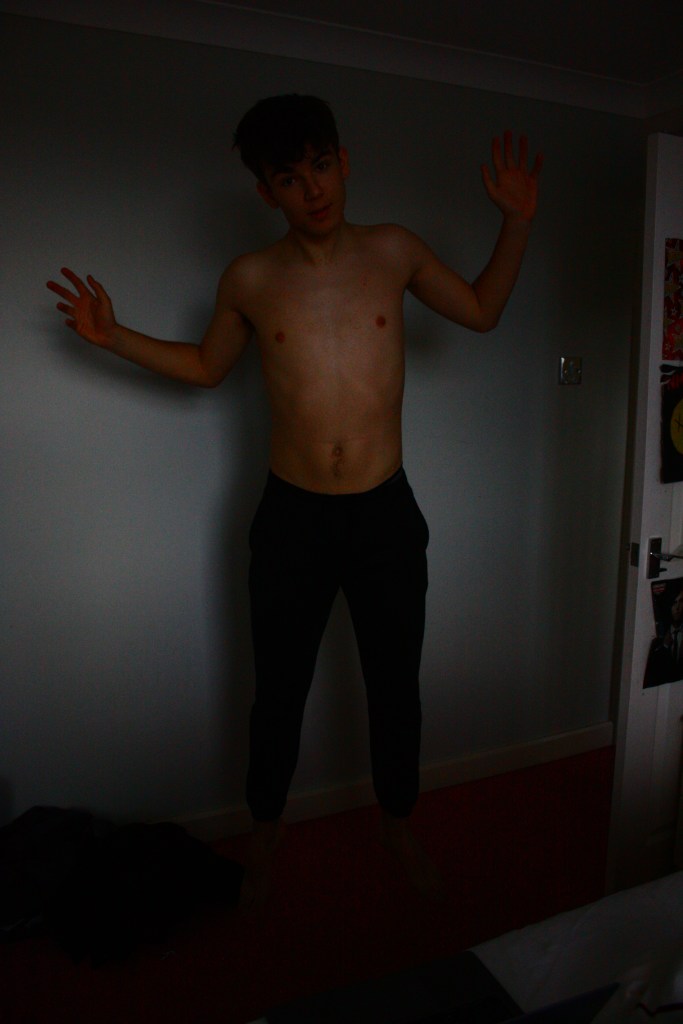
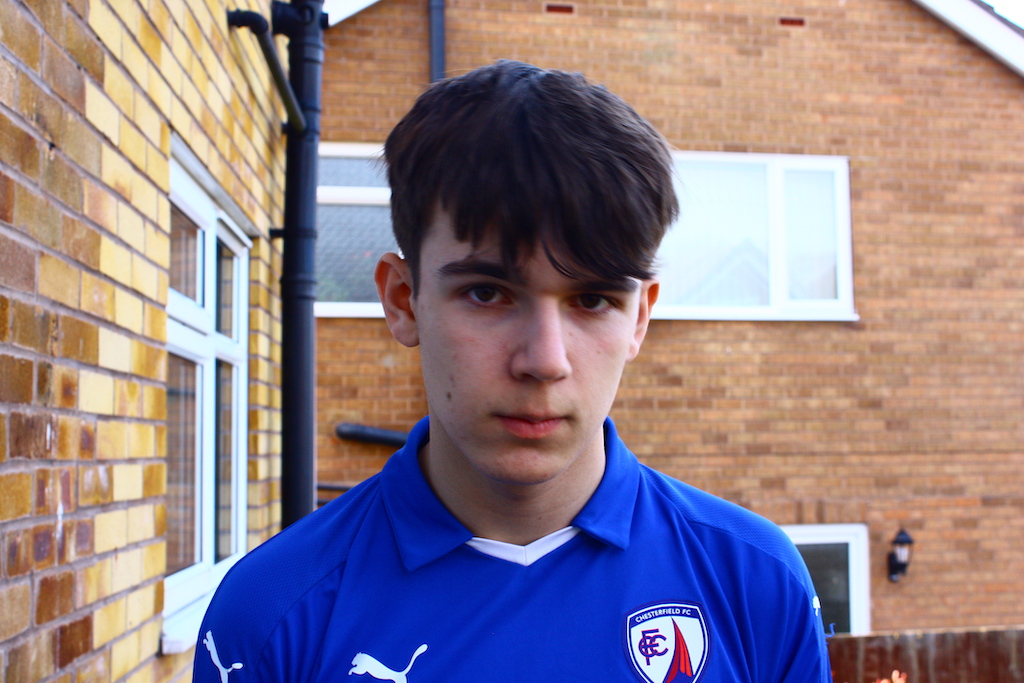
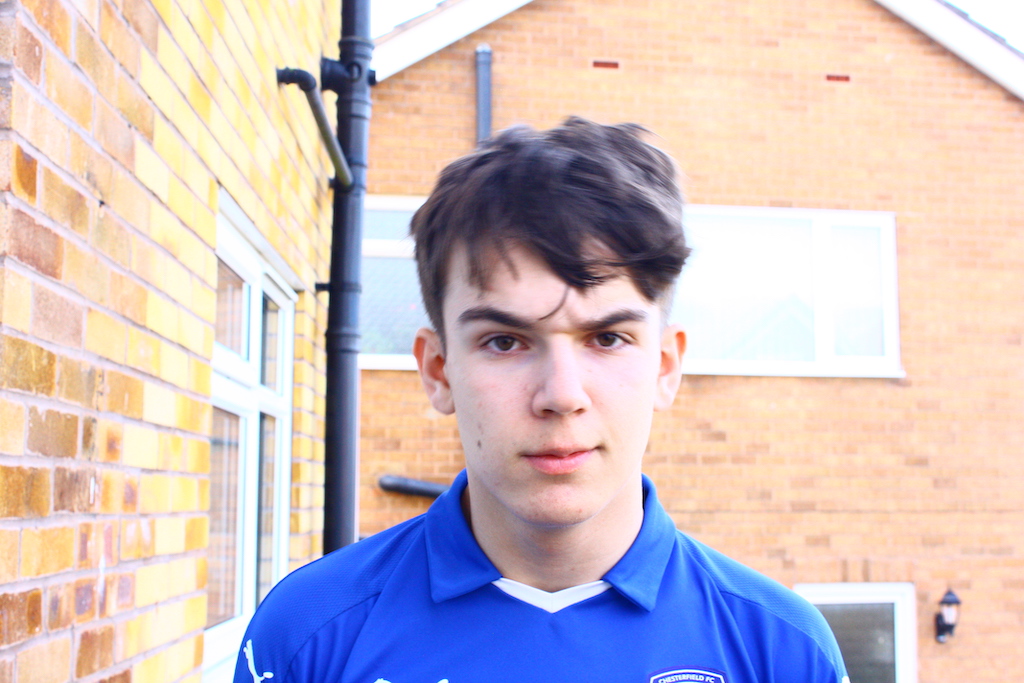
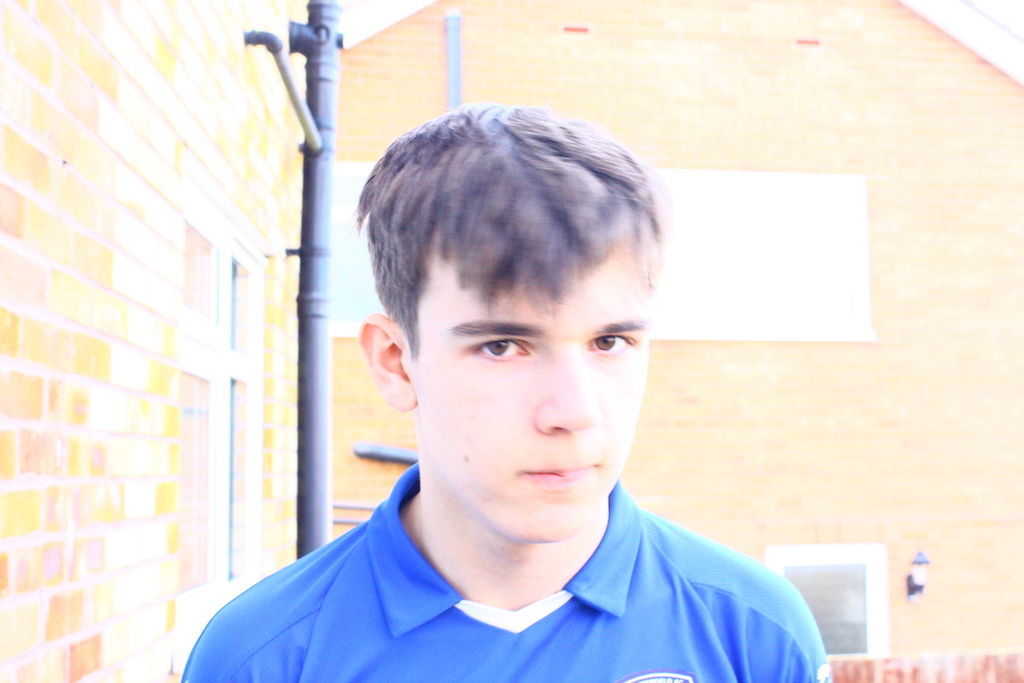
The above images were taken inside at a medium f-stop (about 7/8) and with the shutter speed at 1/125. The ISO was then set to 200,400,800 and 1600 for four different images. As you can see in the images, as the ISO increases, the images get brighter. In the first few images, where the ISO is 200/400, you can barely see the subject and it’s not until ISO 1600 that the subject of the images is really clear.
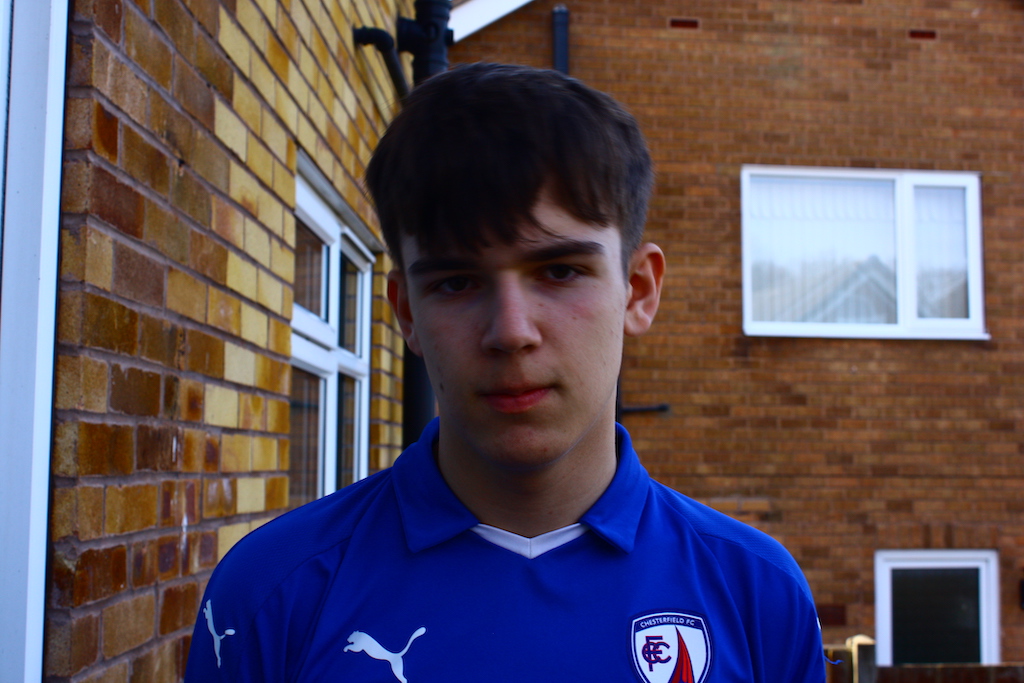
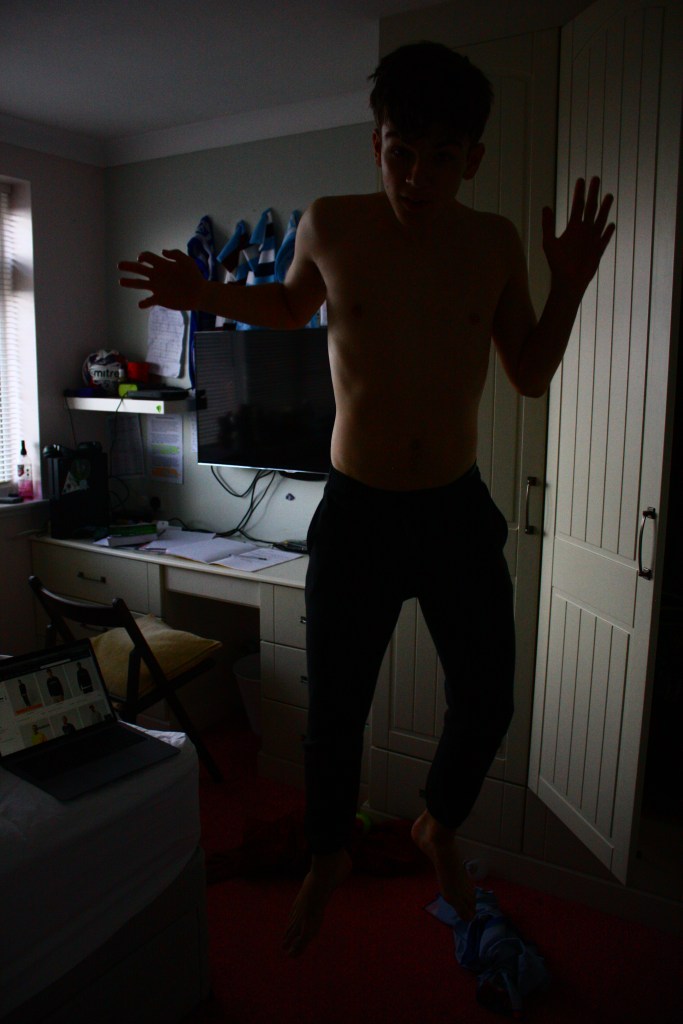
In the outside images, the shutter speed was set to 1/160 and you can see the subject clearly in all photos. However, as the ISO increases, the subject actually because too bright and get’s whitewashed. The second image, where the ISO is 400, is the best in terms of lighting and being able to see the subject of the image clearly, without any of it being cast into darkness or way too bright.
